My images did not require much editing in post production. I simply correction exposure, colour balance and saturation. Some required more adjustments than other but it was all the same process.
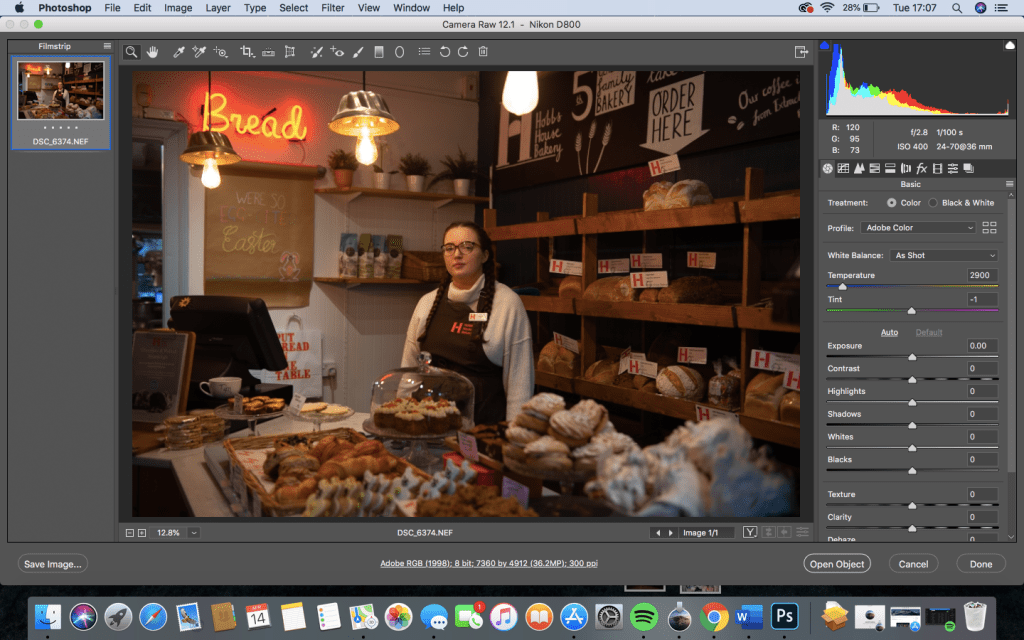
Firstly I spend time adjusting mainly contrast, highlights and shadows. I played around with the settings until the image looked correct. I also went through the other tabs such as Detail and the colour settings.
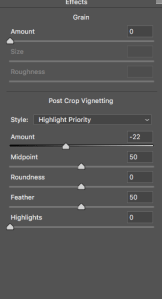
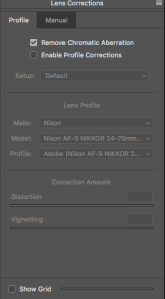
One setting I apply to every photo is vignetting. I add a slight dark vignette which adds a a bit of depth to the image. As I add it to all of them it also makes them all slightly similar. I always tick Remove Chromatic Aberration, Enable Profile Correction depends on the photo. Sometimes it improves it but most time I leave it unticked.

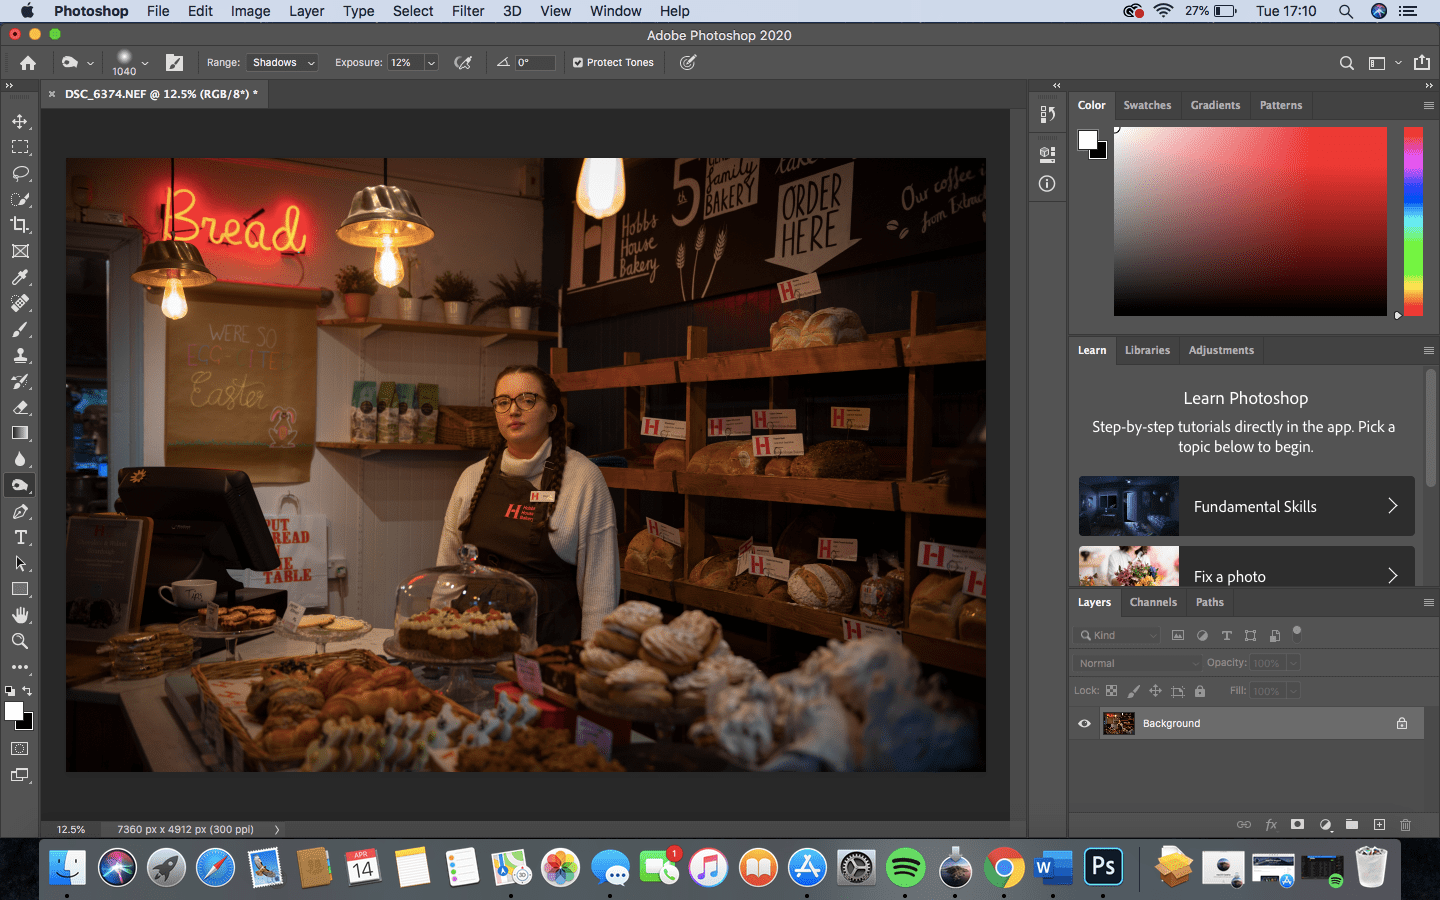
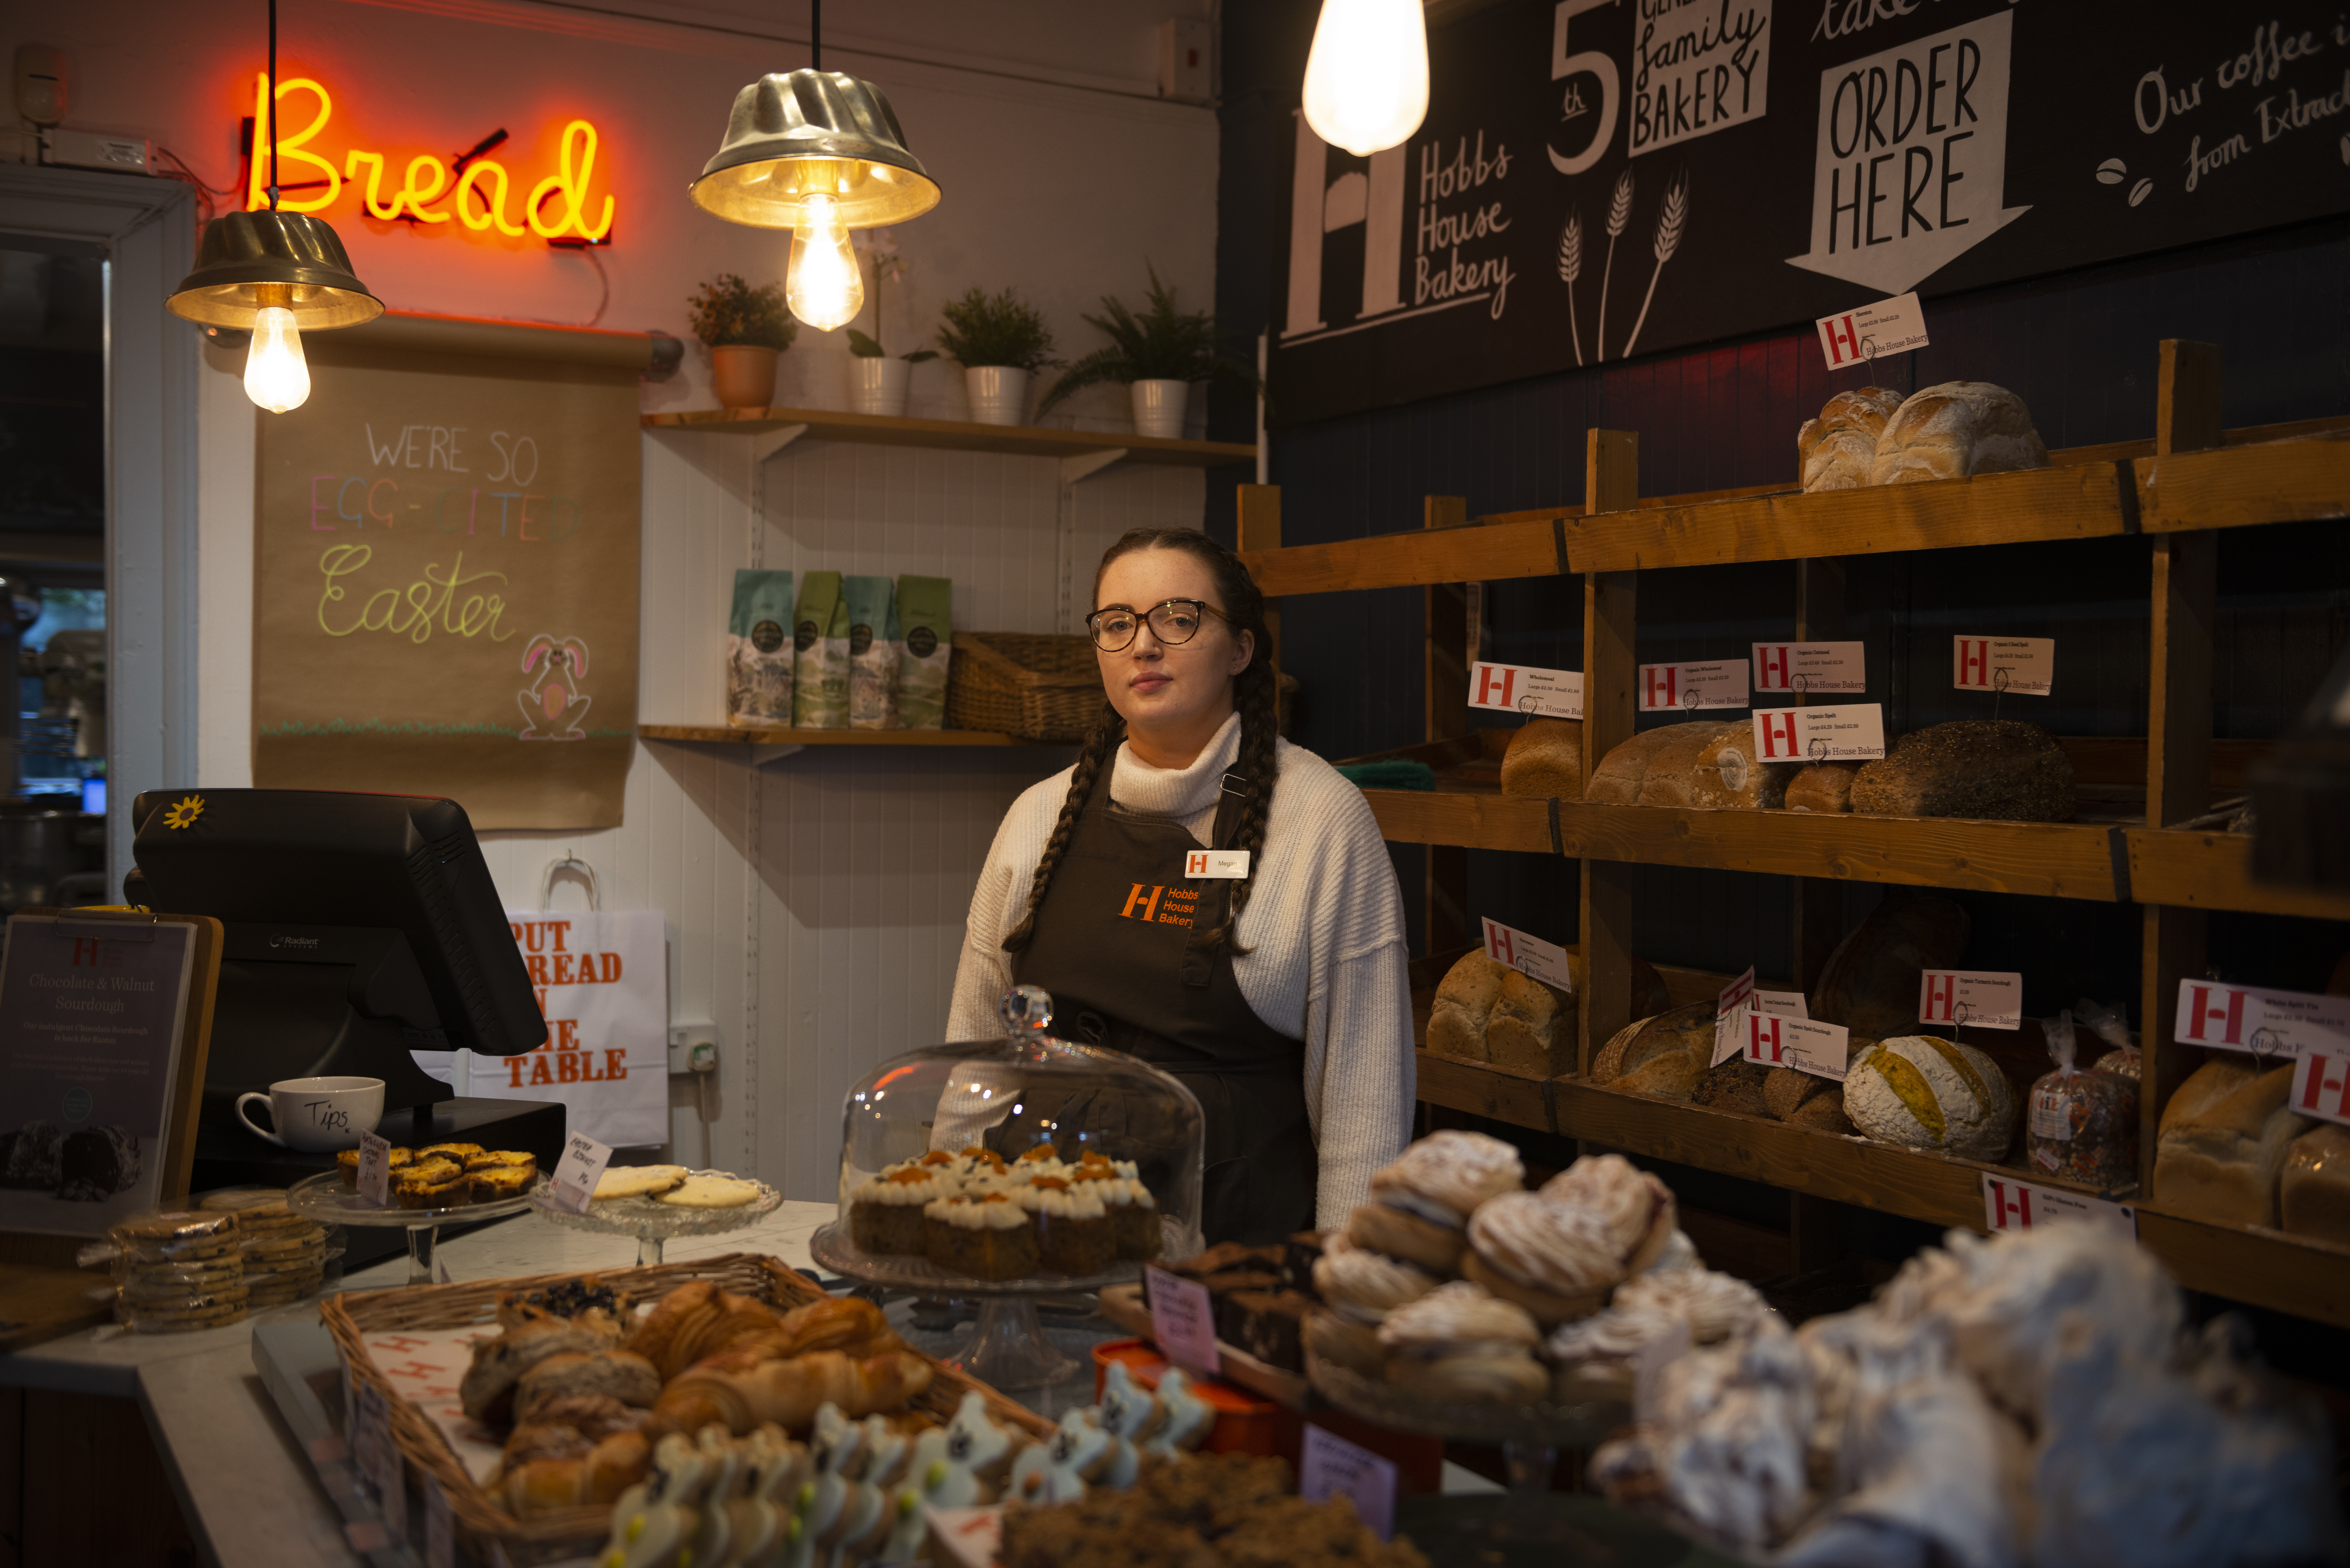
In this particular photo I used the Burn tool to try and lower the highlights of the lamps. They are so overexposed there is only so much I can do to it. Dodge and Burn tool has been useful in other images where I just need to slightly darken or lighten an area. This is mainly the whole process of editing my images, I finish with saving them as high quality jpegs.
FINAL IMAGES:

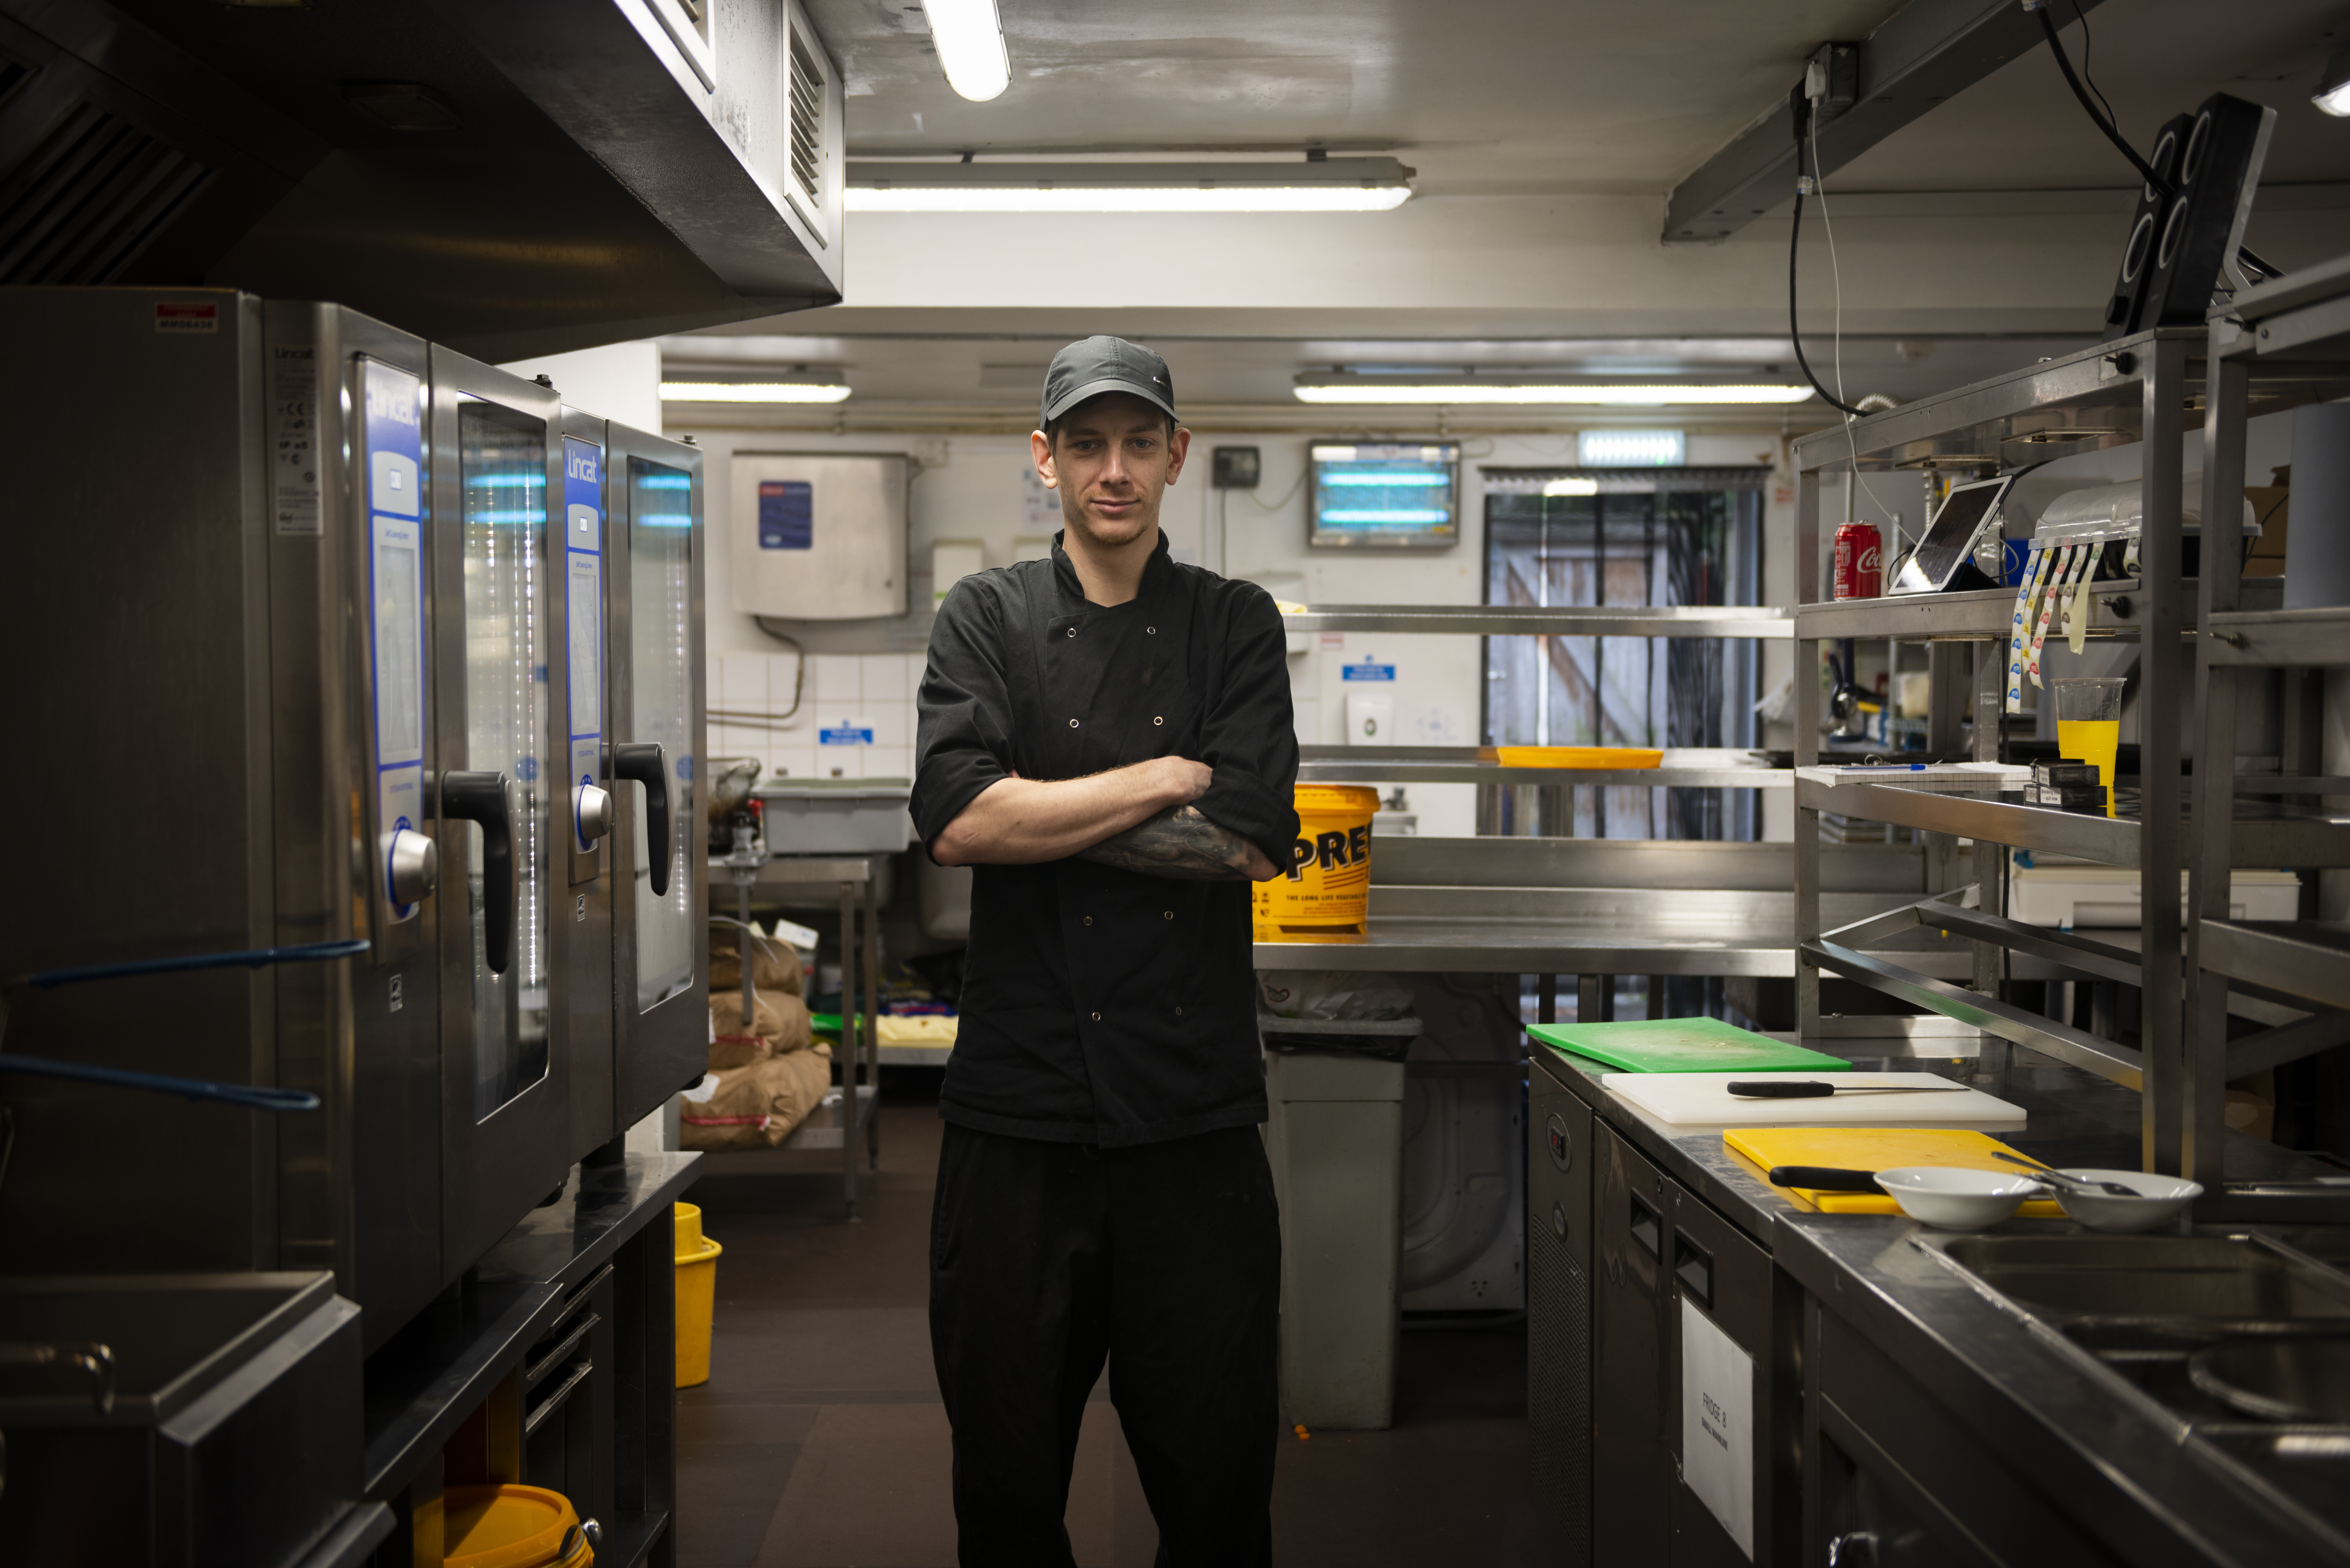
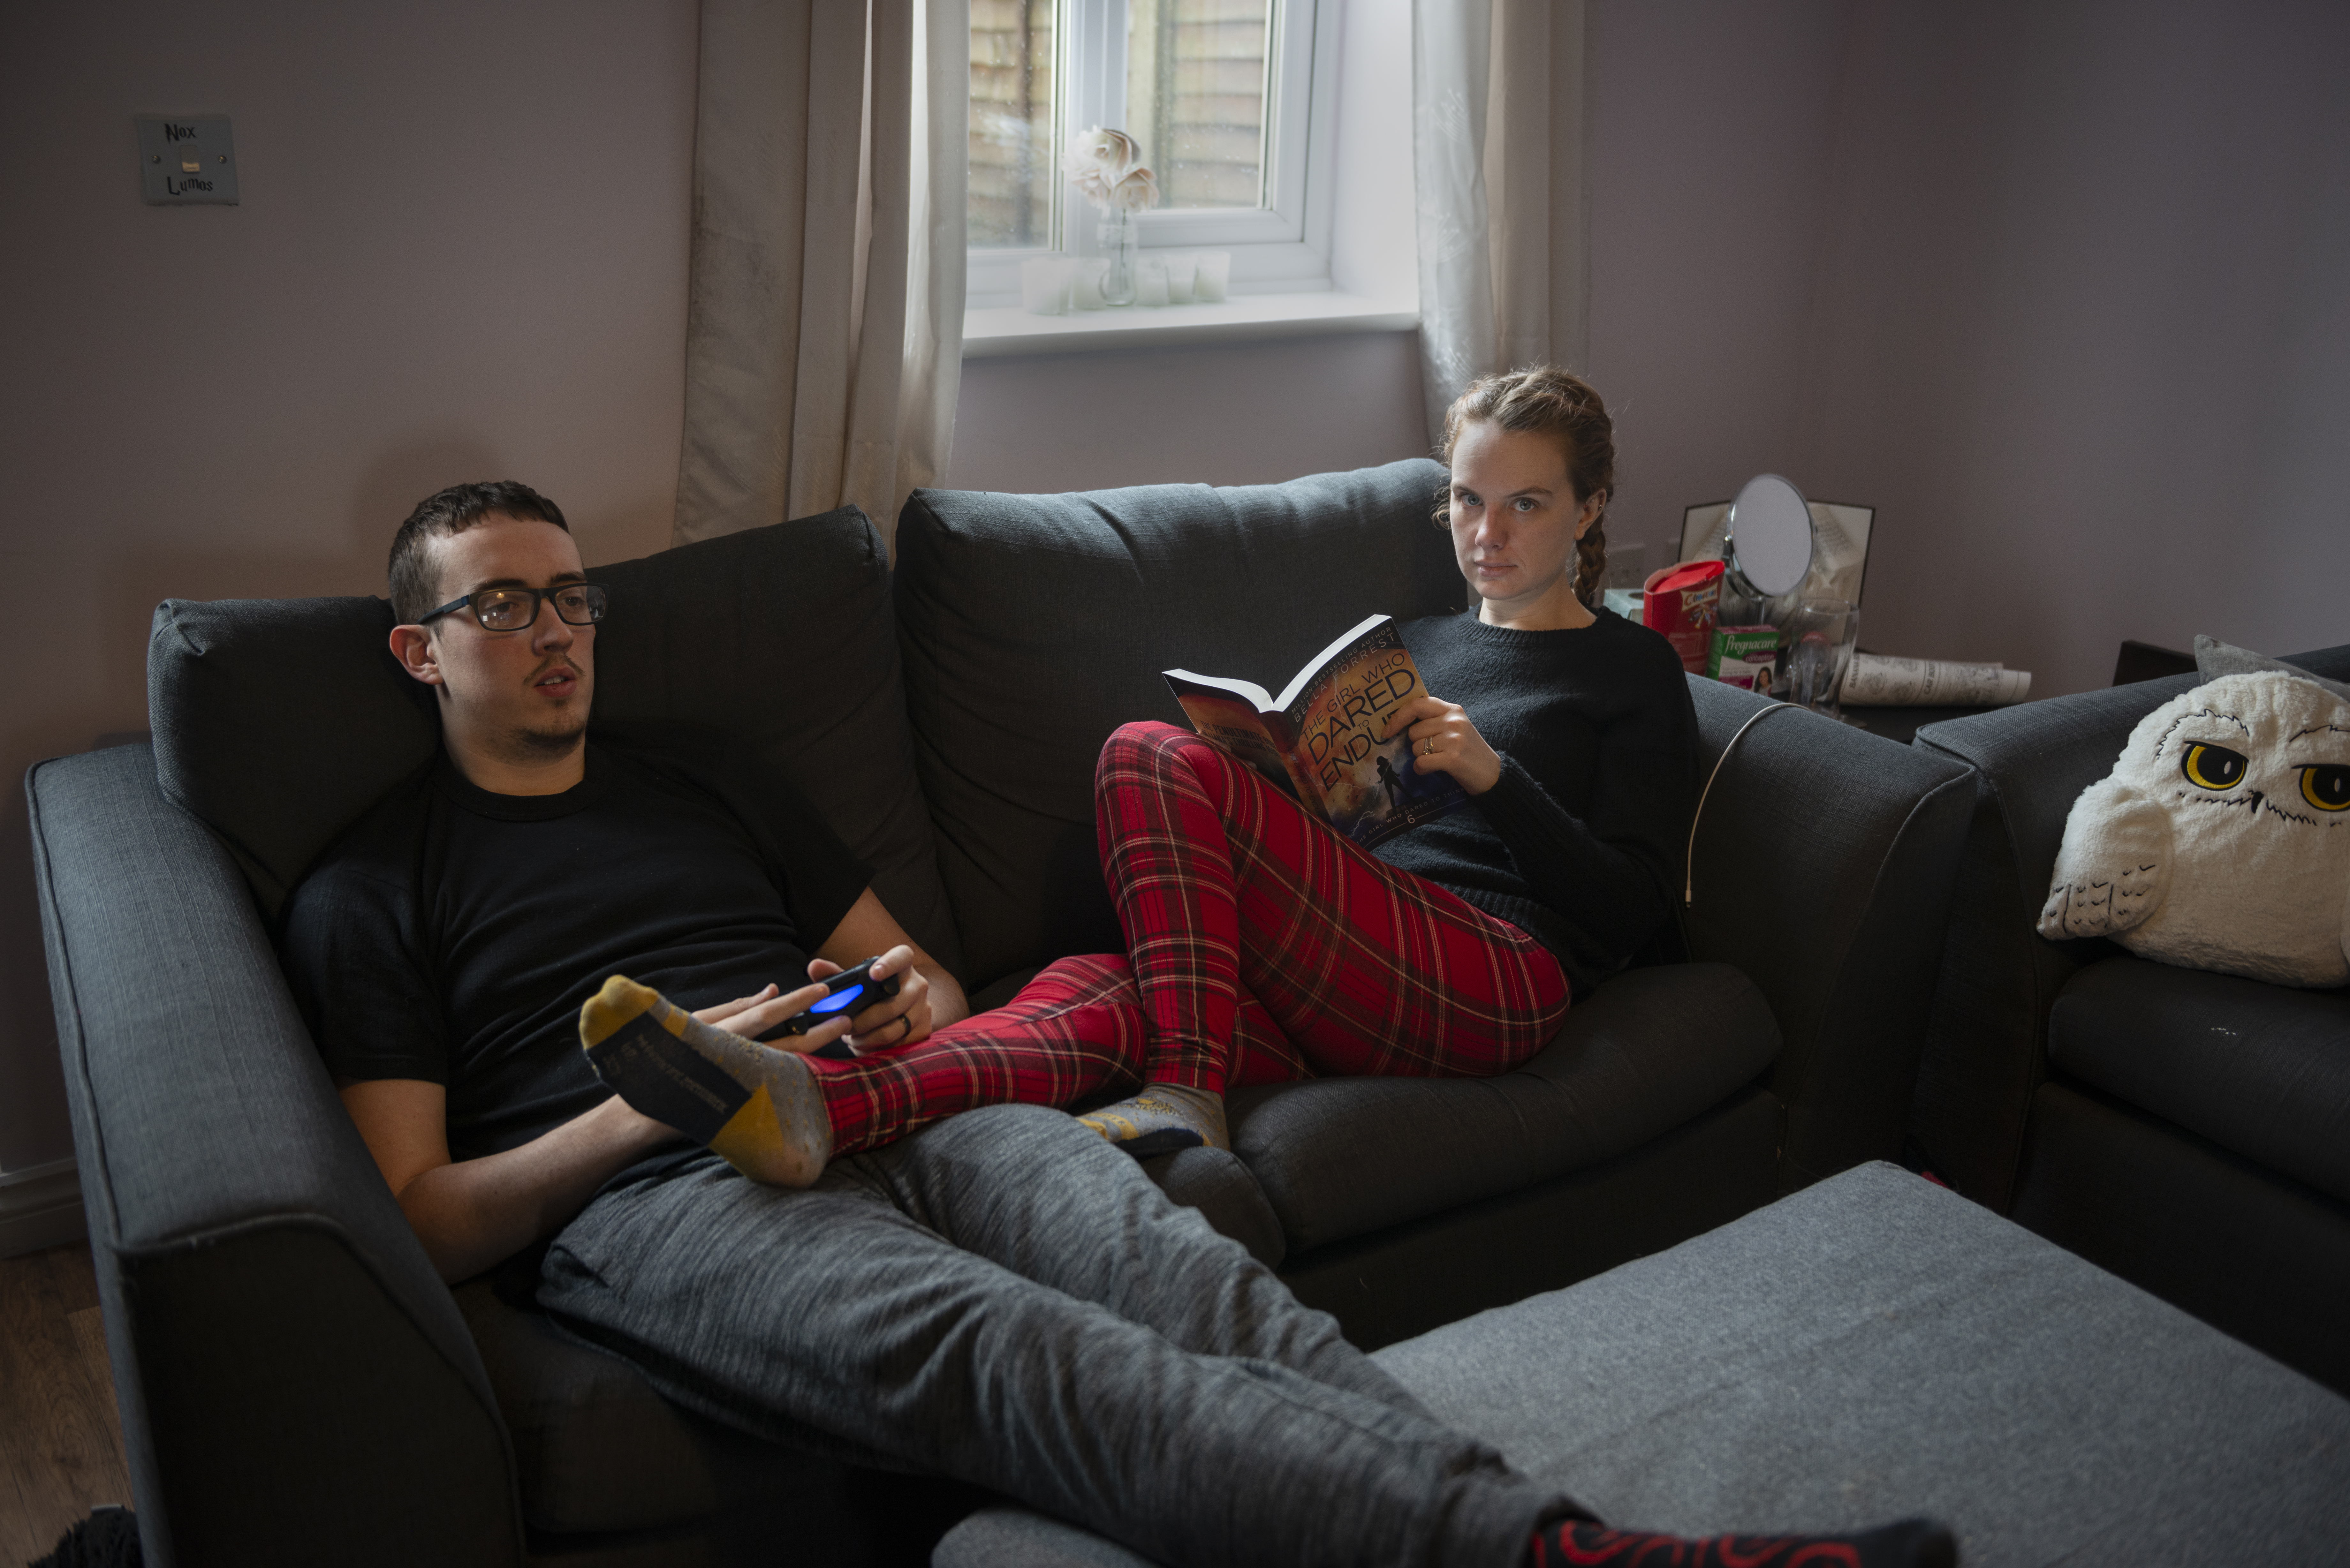
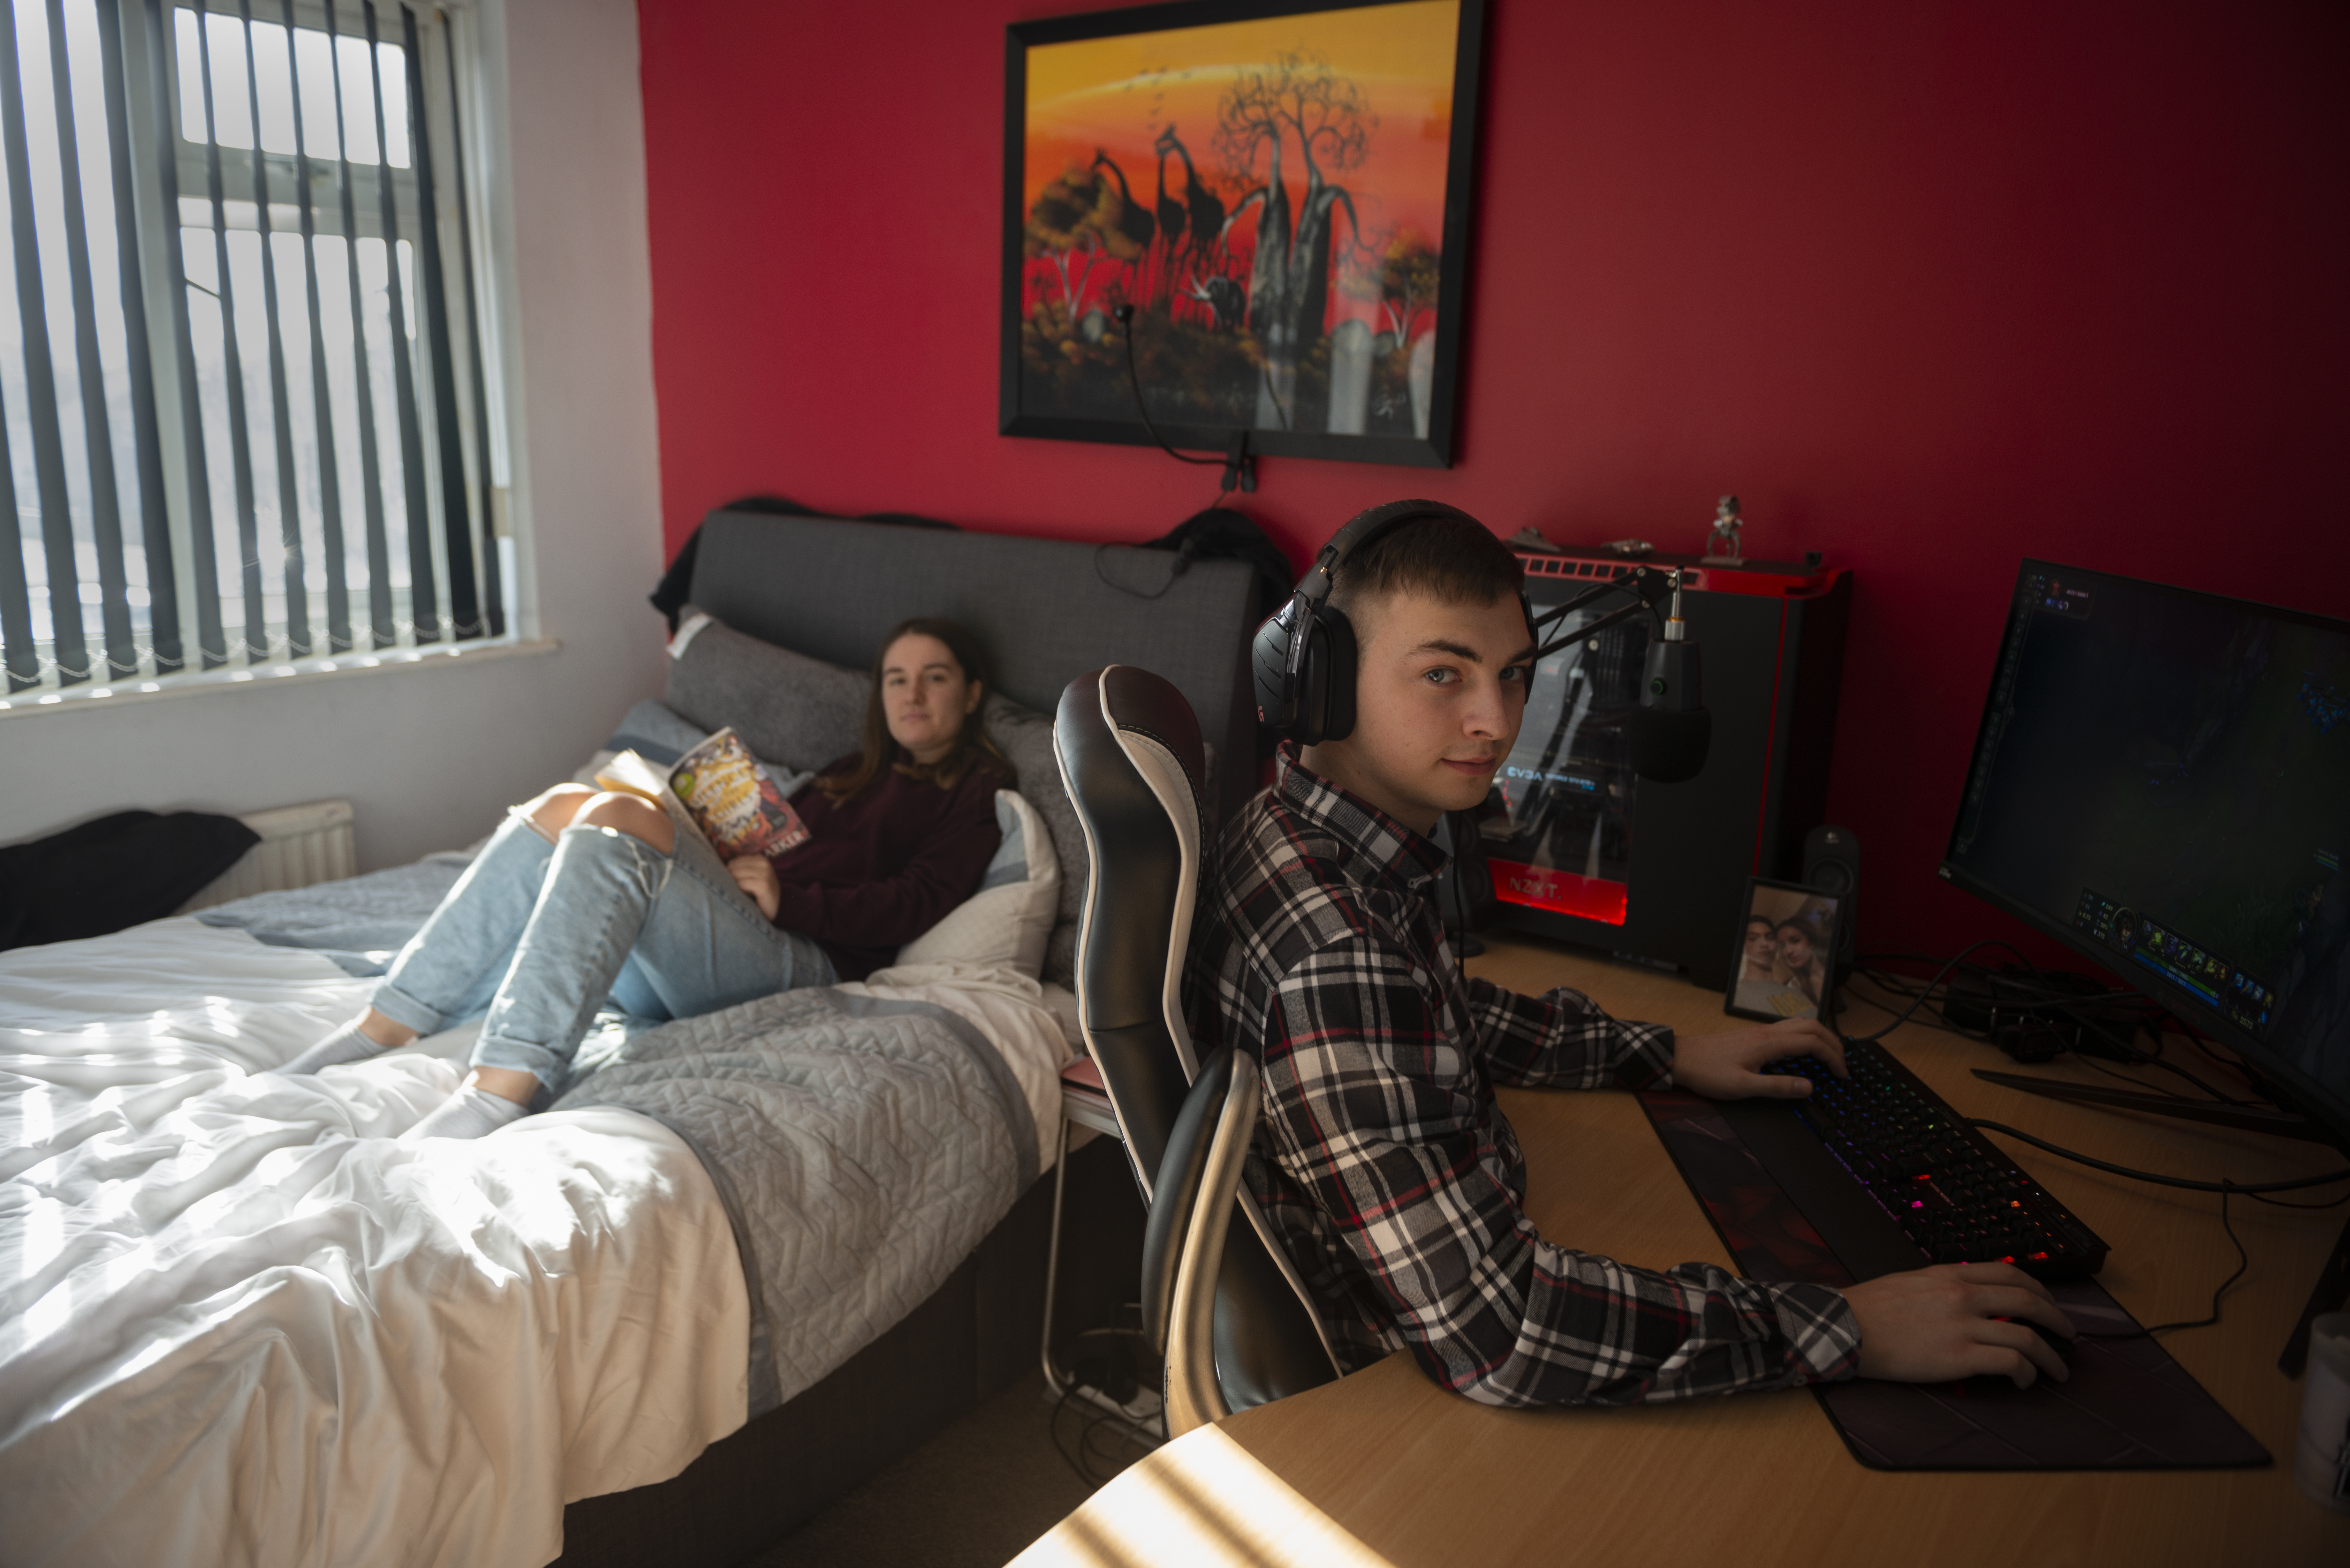

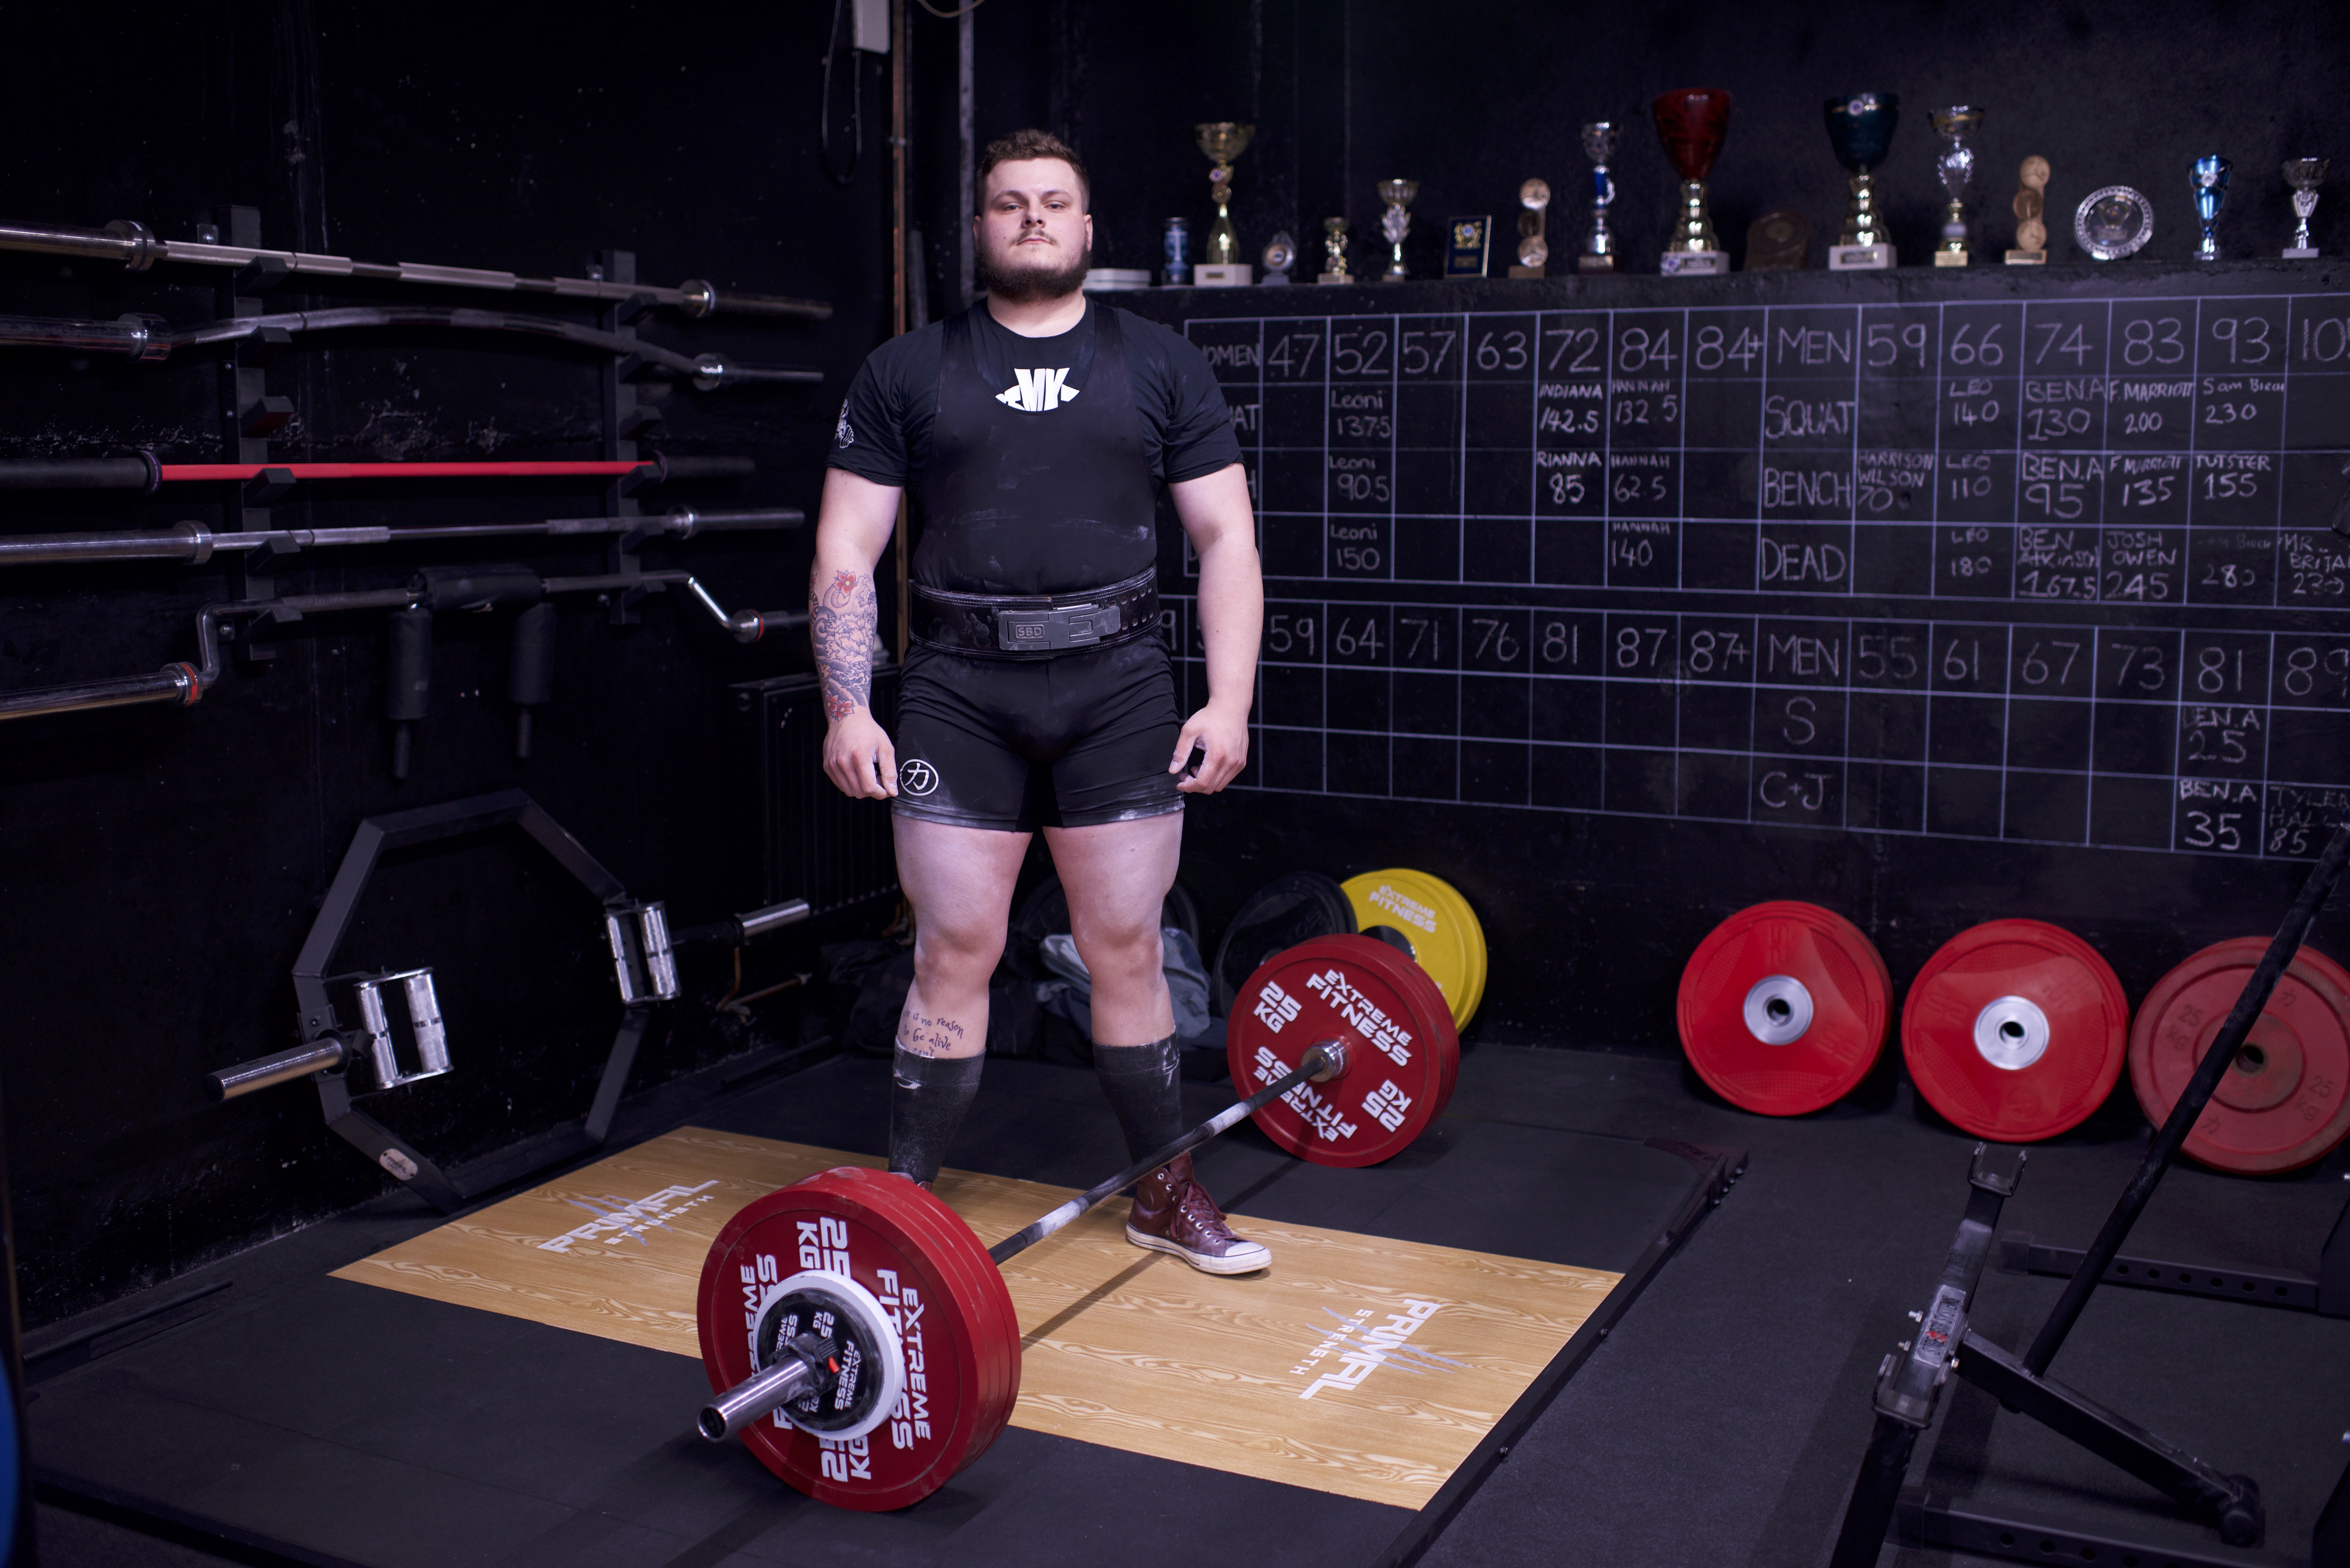
Although I would of liked to reshoot some of these, I am happy with the final selection. As a series they are interesting to look at and compare. If I had more to choose from I think I would of just chose people on their own because now I am looking at them together, it would fit better without couples. Overall, considering the circumstances, I am happy with the work I have produced. I have some strong images to carry on this project at a later time.
